
Okay, real talk — two years ago, my closet was a disaster. I had so many clothes and still felt like I had nothing to wear every single morning. Sound familiar?
I’d spent years buying random pieces on sale just because they were cheap, not because they actually worked together. The result? A wardrobe full of stuff I never wore, and a serious case of “getting dressed is exhausting” syndrome.
Then I hit a breaking point. I was late for a work meeting, standing in front of my overflowing closet in a mild panic, wearing a top that didn’t go with anything I owned. That was the moment I decided something had to change — without spending a fortune doing it.
What I discovered wasn’t some magical shopping hack or a celebrity stylist secret. It was just four very specific upgrades that, honestly, I wish someone had told me about years earlier. And the best part? None of them broke the bank.
1. I Stopped Buying Cheap Basics and Invested in Just Three Good Ones
Here’s the mistake I made for years: I’d buy five cheap white t-shirts thinking quantity = value. But every single one would go thin, yellow, or weirdly misshapen after a few washes. So I’d buy more. It was a never-ending cycle that was actually costing me more in the long run.
The upgrade? I stopped buying five mediocre basics and instead bought three genuinely good ones.
I’m talking a well-fitted white tee, a clean crew-neck sweatshirt, and a classic dark-wash straight-leg jean. That’s it. I spent a little more per piece — we’re talking mid-range, not luxury — and I’ve worn each of them almost weekly for over a year now.
The difference in how I looked and felt was kind of shocking. When your basics actually fit and hold their shape, every outfit just looks more put-together, even if everything else you’re wearing is totally average.
What I learned: Stop thinking in terms of “how many can I get for this money” and start thinking “which one piece will I actually want to wear again and again?”
| Old Approach | Upgraded Approach |
|---|---|
| 5 cheap white tees (~$8 each = $40) | 1 quality white tee (~$35) |
| Worn out in 3 months | Still going strong after 14 months |
| Always looked slightly off | Fits well, holds color and shape |
| Needed constant replacing | Saved money long-term |
If you want to start building from a solid foundation, this guide on 10 budget wardrobe essentials you’ll wear daily is genuinely one of the most practical things I’ve read on this topic.
2. I Learned What Colors Actually Work Together (Game Changer, Seriously)
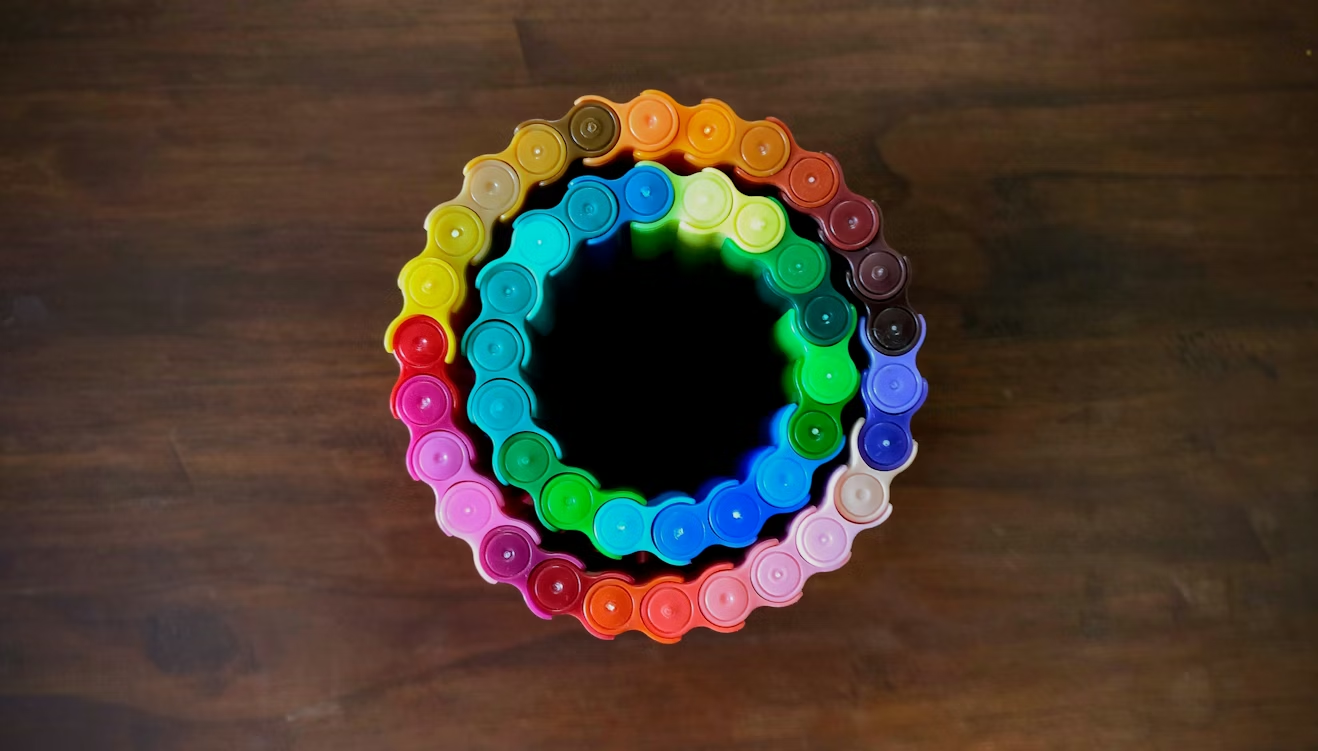
Before this upgrade, I’d buy clothes based on whether I liked the color in isolation. Oh, this burgundy top is pretty! But then it got home and clashed with literally everything else in my closet.
The fix was embarrassingly simple: I picked a three-color palette and stuck to it.
Mine is navy, white, and camel/tan. Everything I own now works with everything else. I can grab literally any two items from my wardrobe and they go together. The mental load of getting dressed went from a daily struggle to almost zero effort.
I didn’t hire a stylist or take a course. I just Googled “neutral color palettes that work together,” found one I liked, and started slowly replacing pieces that didn’t fit the palette when they wore out. Over about four months, my wardrobe basically sorted itself.
Simple color palette options that work for most people:
| Palette Name | Base Colors | Accent Color |
|---|---|---|
| Classic Minimal | White, Black, Grey | Camel or Blush |
| Warm Neutral | Cream, Tan, Brown | Rust or Olive |
| Cool Tones | Navy, Grey, White | Burgundy or Forest Green |
| Earth Tones | Beige, Olive, Brown | Terracotta |
The key thing is to pick ONE palette and be ruthless about it. When you’re thrift shopping or browsing sales, if it doesn’t fit your palette, you leave it behind — no matter how cute it is.
This connects really well to the concept of a capsule wardrobe, which is basically the whole philosophy behind choosing less but choosing better. If you haven’t already gone down that rabbit hole, this breakdown of proven capsule wardrobe tricks to reduce closet chaos is worth a read.
3. I Started Thrifting With a List (Not Without One)
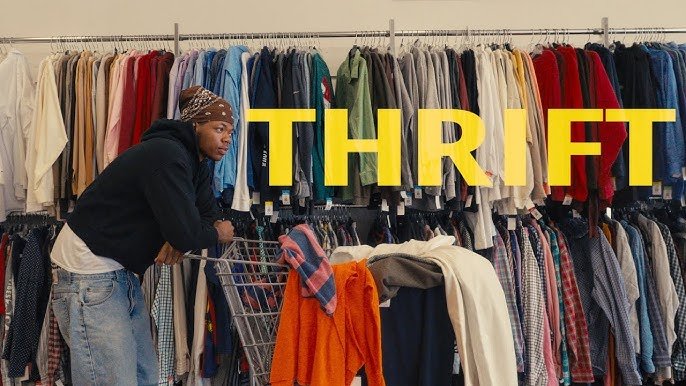
Okay, I used to thrift wrong. I’d wander in, get overwhelmed by the volume of stuff, grab whatever caught my eye, and leave with a bag full of things that didn’t work with anything I already owned.
Sound familiar? Yeah. That’s how most people thrift. And it’s also why most people say thrifting “doesn’t work for them.”
The upgrade was this: I started going in with a very specific shopping list. Not a vague “need some tops” list, but a precise one. Like: one camel-colored blazer, size M, in good condition. That’s it. I’d go in, look only for that thing, and leave without it if I couldn’t find the right one.
This approach completely transformed my thrift store experience. Instead of spending $40 on random stuff I’d never wear, I started finding incredible pieces for $6–$12 that were exactly what my wardrobe needed.
My thrifting checklist method:
- Audit your wardrobe — identify the ONE gap that’s causing the most “nothing to wear” moments
- Write down exactly what you’re looking for (item, color, rough size, condition)
- Go to the store with ONLY that mission
- If you find it, great. If not, you leave empty-handed and try again
- Never buy something “just because it’s cheap”
The mistake most people make is treating thrift stores like treasure hunts where anything goes. Treat it like a regular store where you’re shopping with purpose. Your wardrobe will thank you.
I’ve also found that going mid-week (Tuesday–Thursday mornings) is when stores tend to be freshly restocked. Weekends are chaotic and the good stuff is usually already gone.
4. I Fixed the Fit Issue (This One Changed Everything the Most)
This is the upgrade I wish someone had told me about first, because honestly? It made the biggest visual difference of anything on this list.
Here’s what I realized: I had been wearing the wrong sizes my whole life. Not dramatically wrong, just slightly off. Shirts a little too boxy, jeans a tiny bit too long, blazers with shoulders that didn’t quite sit right. Individually, nothing looked terrible. But the overall effect was that I always looked a bit… sloppy? Unpolished? Like I was wearing someone else’s clothes.
The fix was learning about basic alterations — and how cheap they actually are.
Getting jeans hemmed to the right length: usually $8–$15. Taking in a slightly-too-big thrifted blazer at the sides: around $20–$30. These tiny changes made $20 thrift finds look like they cost $120.
Most impactful (and affordable) alterations:
| Alteration | Approximate Cost | Visual Impact |
|---|---|---|
| Hemming pants/jeans | $8–$15 | Very High |
| Taking in a shirt/blouse at sides | $15–$25 | High |
| Tapering wide-leg trousers | $20–$35 | Very High |
| Adjusting blazer shoulders | $30–$50 | High |
| Shortening a dress/skirt | $12–$20 | Medium-High |
I found a local tailor through a simple Google Maps search — “tailor near me” — and was honestly shocked by how affordable it was. Now I factor in alteration costs when I’m shopping. Something is $12 at the thrift store and needs a $10 hem? That’s a $22 piece that fits me perfectly. That’s still a great deal.
Once I started doing this, I genuinely stopped feeling like I needed more clothes. The ones I had finally looked right on my body, and that feeling is worth way more than a closet full of stuff that sort of fits.
For anyone who wants to go deeper on building a wardrobe that actually works for real life (not just Instagram), I found this article on minimal wardrobe essentials — own less, dress better really aligned with where my head was at during this whole process.
Common Mistakes I Made (So You Don’t Have To)
Looking back, there were a few things that slowed down my style transformation more than anything else:
Trying to change everything at once. I went through a phase where I wanted to overhaul my entire wardrobe in a weekend. It led to bad decisions, impulse buys, and more chaos. Slow and steady is actually faster in the long run.
Buying aspirational pieces. I once bought a gorgeous structured wool coat because I wanted to be the kind of person who wore structured wool coats. I wore it twice. Buy for your real life, not your fantasy life.
Ignoring fabric quality. I used to not even check fabric content. Now I always check the tag. Anything less than 60% natural fiber (cotton, linen, wool, silk) tends to look cheap and feels uncomfortable after a few hours. This is especially important for tops and anything close to your skin.
Chasing trends instead of building a base. Trends are fine occasionally, but if your foundation isn’t solid, trend pieces just look random and disconnected. Get your basics and color palette sorted first, then add a trend piece or two if you want.
What This Actually Cost Me
People assume a style transformation requires serious money. Here’s what my four upgrades actually cost, roughly:
| Upgrade | What I Spent |
|---|---|
| 3 quality basics | ~$90 total |
| Color palette research | $0 (just Google) |
| Thrift finds with a list | ~$50 over 3 months |
| 2 alterations | ~$30 |
| Total | ~$170 |
For context, I used to spend more than that on random sale items every single month without any noticeable improvement in how I looked or felt. $170 over several months for a wardrobe that actually works? Genuinely one of the best investments I’ve made.
Final Thoughts
None of this is revolutionary. But that’s kind of the point — good style doesn’t require a massive budget or a complete personality overhaul. It mostly requires being more intentional about what you buy and why.
The thing that surprised me most wasn’t how much better my outfits looked. It was how much less time I spent thinking about getting dressed. When everything works together and fits properly, mornings become genuinely easy.
Start with just one of these upgrades. Pick the one that resonates most with where you are right now, and give it a real try for a month before moving on to the next. You’ll notice the difference faster than you expect.
FAQ
Q1: Do I need a big budget to upgrade my wardrobe?
Not at all. Most of the upgrades I made cost under $200 total over several months. The key is being intentional — spending a little more on fewer, better pieces rather than constantly buying cheap stuff you don’t actually wear.
Q2: How do I find a color palette that works for me?
Start by looking at the clothes you already own that you love and reach for most often. What colors keep showing up? That’s usually a clue. You can also search “neutral capsule wardrobe color palettes” on Pinterest for visual inspiration. Pick three base colors that feel natural to you and build from there.
Q3: Is thrift shopping really worth it for wardrobe upgrades?
100%, but only if you shop with a specific list. Random thrifting usually leads to random purchases. Purposeful thrifting — knowing exactly what gap you’re trying to fill — is how you find genuinely great pieces for almost nothing.
Q4: How do I know if something is worth getting altered?
A simple rule: if you love the piece and would wear it regularly if it fit better, it’s worth altering. If you’re on the fence about whether you even like it, no amount of tailoring will make you reach for it.
Q5: How long does it take to actually see a difference?
In my experience, you start noticing a real shift within about 4–6 weeks of being intentional. It’s not instant, but it’s also not years away. The color palette change, in particular, can make a noticeable difference almost immediately once you start pulling together outfits from a cohesive set of colors.
If you’re just starting out and want a clear, no-fluff roadmap, I’d really recommend checking out how to build a stylish budget wardrobe without overspending — it covers the foundational thinking behind all of this in a really practical way.