
A few years back, a coworker pulled me aside after a meeting and whispered, “Okay, where do you actually shop? Because you always look so… put together.”
I was wearing a $14 H&M blazer, Primark trousers, and shoes I’d found on a Zara sale rack for $22.
Total outfit cost: maybe $55.
I didn’t tell her that immediately. Mostly because I was still figuring out myself why it worked — because honestly, it hadn’t always. There was a solid two-year stretch where I spent double that on individual pieces and somehow looked considerably worse.
The difference wasn’t money. It was a set of habits and tricks I’d slowly figured out, mostly through trial and error and a lot of “why does this feel off?” moments in front of the mirror.
So here’s what actually moves the needle. These aren’t generic tips like “invest in quality” (cool, helpful, thanks). These are the specific things I do that make affordable clothes look like they cost a lot more than they did.
1. Get Clothes Altered — Even Cheap Ones
This is the one that changed everything for me, and it took me way too long to figure it out.
The reason expensive clothes look expensive isn’t always the fabric or the brand — it’s the fit. Luxury garments are cut to sit perfectly. Budget clothes are cut to fit everyone sort of okay, which means they fit almost no one really well.
The fix? A tailor. And no, it doesn’t have to be expensive.
I once bought a $20 pair of wide-leg trousers from ASOS. They looked great on the model. On me, they were about two inches too long and bagged weirdly at the waist. I took them to a local tailor and paid $12 to have them hemmed and taken in slightly at the waist. Total cost: $32. And suddenly they looked like something from a high-street boutique.
The alterations worth doing most often:
| Alteration | Average Cost | Impact on Look |
|---|---|---|
| Hemming trousers/jeans | $8–$15 | Very high |
| Taking in the waist | $12–$20 | High |
| Shortening sleeves | $10–$18 | Medium-High |
| Taking in side seams | $12–$25 | High |
| Tapering legs | $15–$25 | Very high |
The mistake I made for years: assuming alteration was only for expensive pieces. The opposite is true — it’s the budget piece that needs it most, because it definitely wasn’t tailored to your body at the factory.
Even just hemming a pair of cheap trousers to the right length makes them look instantly more intentional and polished. It’s one of the most underrated budget fashion moves out there.
2. Nail Your Color Palette (And Stick to It Ruthlessly)
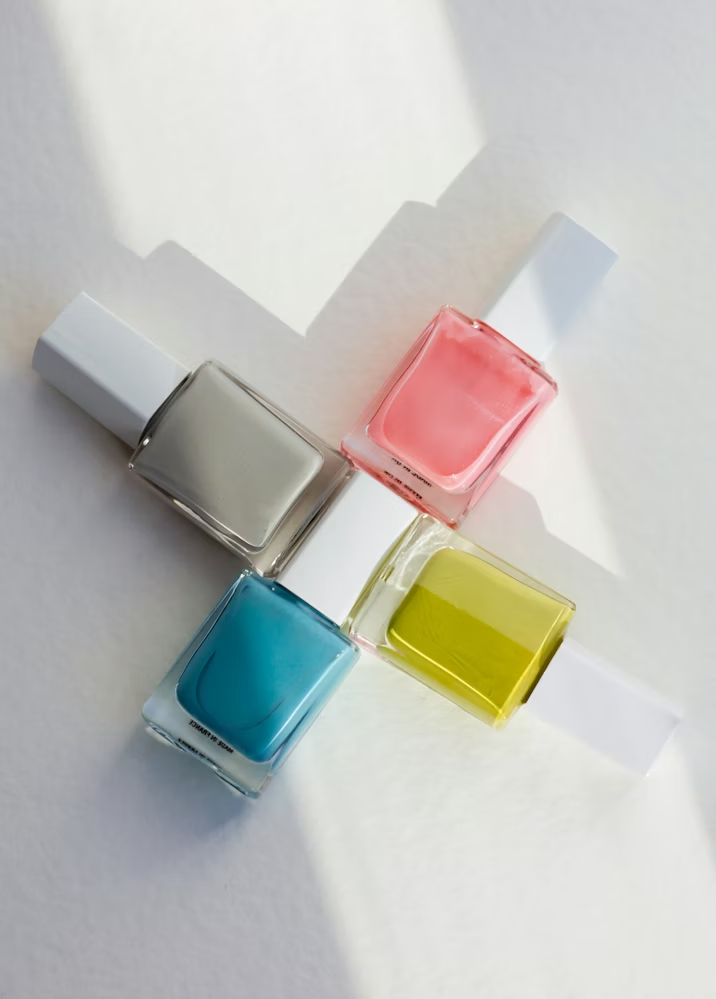
Expensive wardrobes don’t look expensive because of individual pieces. They look expensive because everything coheres.
When you wear colors that work together — across your whole outfit and across your whole wardrobe — the overall effect reads as considered and intentional. Cheap clothes in clashing or mismatched tones look chaotic regardless of price.
I spent a weekend going through my whole closet and sorting by color. What I found: I had random bits of mustard yellow, burnt orange, olive green, dusty pink — none of which worked with each other. No wonder getting dressed felt hard.
I made a decision to build around a core palette: cream, camel, white, navy, black, and the occasional warm brown. Everything I buy now has to work within that range.
How to figure out your palette:
- Pull out every piece you own and sort by color
- Notice which colors you actually gravitate toward when getting dressed
- Identify 4–6 colors that genuinely work together
- When shopping, only buy things that fit within those colors
- When something doesn’t fit — put it back, even if it’s cute
It sounds rigid. It’s actually liberating. And it makes even a $15 top look like it belongs in a really thoughtful outfit.
3. Use a Fabric Shaver Religiously
Okay, this one is embarrassingly practical, but I genuinely cannot overstate the impact.
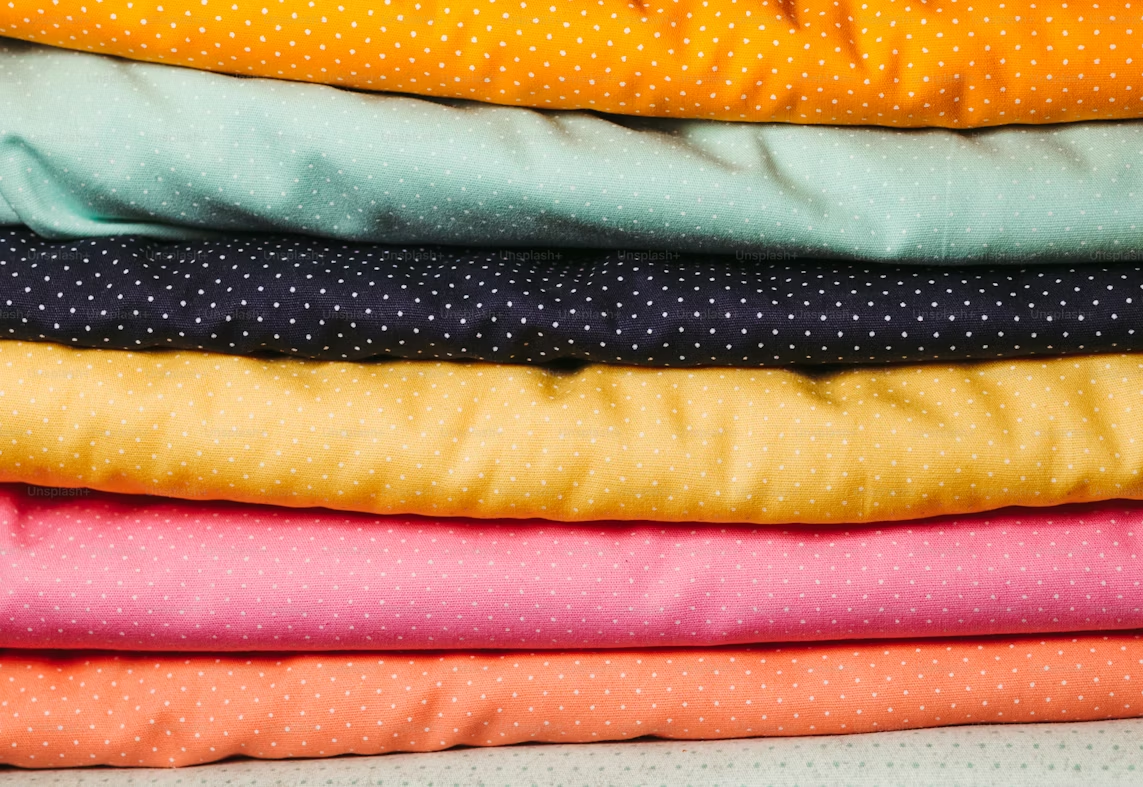
Pilling — those tiny little bobbles that form on knitwear and cotton — is the single fastest way for a garment to look old, cheap, and worn-out. And it happens to everything: expensive jumpers, budget cardigans, your favorite fleece.
A fabric shaver (also called a lint shaver or defuzzer) removes pilling in about two minutes and makes a garment look essentially new again. I have a Beautural one I bought on Amazon for $13 and it has made more of a visual difference than almost anything else in my routine.
I use it on:
- Every knitwear piece before wearing
- Joggers and lounge pieces that get heavy wash cycles
- The insides of jacket elbows (a spot people miss)
- Wool coats that start to look matted
The before-and-after difference is genuinely kind of shocking the first time you do it. A £20 M&S cardigan that was starting to look tired came back looking practically new after five minutes with the shaver.
Cost of the tool: $10–$20 one-time Impact: Makes every knitwear piece look significantly newer and more expensive
Don’t skip this. It’s one of those tiny things that quietly signals “this person takes care of their clothes.”
4. Swap Buttons on Budget Pieces
This one sounds fiddly but it’s genuinely transformative and takes about 20 minutes.
Budget blazers, coats, and cardigans often come with plasticky, lightweight buttons that immediately give away the price point. Swap those buttons for something heavier and more substantial — tortoiseshell, horn-effect, metal, or genuine shell — and the whole garment reads differently.
I bought a $25 H&M blazer that was a great cut but had these slightly shiny, thin buttons that cheapened the whole thing. I spent $4 on a set of tortoiseshell resin buttons from a fabric shop (you can also find them on Etsy or Amazon) and spent an evening re-sewing them.
The result? Multiple people asked me where I got the blazer, assuming it was significantly pricier than it was.
Where to find replacement buttons:
- Etsy (search “replacement blazer buttons” or “coat buttons”)
- Local fabric/haberdashery shops
- Amazon (search by size in mm — check your current buttons first)
- Charity shops often sell button cards
What to look for: Weight matters. A heavier button signals quality. Horn-effect, metal, and genuine shell all feel and look more premium than lightweight plastic.
This hack works especially well on: blazers, wool coats, cardigans, and any shirt with visible buttons.
5. Master the Tuck (French Tuck, Full Tuck, Half Tuck)
The way you wear something matters as much as what you’re wearing. And nothing communicates “I know what I’m doing” quite like a deliberate tuck.
A full tuck (shirt fully tucked in) looks structured and intentional. A French tuck (just the front bit loosely tucked, back hanging free) looks effortlessly stylish without being stiff. A half tuck sits somewhere in between — casual but considered.
I used to just… wear my tops over my waistband. Everything looked slightly shapeless and unfinished. Once I started experimenting with tucking — even just the front of a basic tee into high-waisted jeans — my outfits immediately looked more put-together.
Quick guide to which tuck works when:
| Tuck Style | Best For | Vibe |
|---|---|---|
| Full tuck | High-waisted trousers, skirts | Smart, polished |
| French tuck (front only) | Jeans, wide-leg trousers | Relaxed but styled |
| Side tuck (one side only) | Casual outfits with a belt | Asymmetric, editorial |
| No tuck | Oversized pieces, intentional loose layers | Minimal, relaxed |
The mistake people make: leaving the tuck too neat and stiff. Especially with the French tuck — it should look slightly loose and intentional, not like you’re about to tuck a napkin into your collar. Pull a tiny bit of fabric out after tucking to create that relaxed, slightly undone feel.
6. Invest in One or Two Good Accessories (Not Clothes)
Here’s something I noticed: people who dress expensively often don’t have expensive clothes. They have one or two very good accessories that anchor the whole look.
A sleek leather belt. A simple gold chain. A structured tote bag. A silk scarf. One of these items, done well, lifts everything around it.
I bought a real leather belt from a market stall for $18 — vegetable-tanned, a simple silver buckle, a clean chocolate brown. I’ve worn it with jeans, trousers, over blazers, threaded through shirt loops. It’s been in almost every outfit for two years and it still looks good because real leather develops patina rather than just wearing out.
Compare that to the $8 faux leather belts I used to buy, which cracked and peeled within a few months.
The accessories worth spending a little more on:
- A leather (or very good faux leather) belt
- A simple metal chain necklace — gold or silver, not mixed
- A structured bag in a neutral color
- A quality watch with a simple face (doesn’t need to be expensive, just not plastic-looking)
Everything else — earrings, scarves, hair accessories — can be from anywhere. But having one or two genuinely good anchor pieces makes the whole outfit feel elevated.
Secondhand tip: Depop, eBay, and Poshmark are incredible for real leather bags and belts at a fraction of retail. I found a genuine leather structured tote on Depop for $22 that retailed for over $150.
7. Stop Washing Everything After One Wear
Stay with me here, because I know this sounds counterintuitive.
Over-washing is one of the fastest ways to degrade clothing. It breaks down fibers, fades color, shrinks fabric, and speeds up pilling — especially in knitwear and denim. When clothes start to look worn and faded, they look cheap regardless of what they cost originally.
Most items — especially knitwear, denim, trousers, and blazers — don’t need washing after every wear unless they’re visibly dirty or sweated through.
My current washing approach:
| Item | How Often I Wash |
|---|---|
| T-shirts, underwear, socks | After every wear |
| Jeans | Every 4–5 wears |
| Knitwear/cardigans | Every 3–4 wears |
| Trousers/blazers | Every 5–7 wears |
| Coats/jackets | Every 10–15 wears or seasonally |
Between washes: air garments out after wearing, use a clothes brush for lint and dust, and spot-clean stains immediately rather than throwing the whole thing in the machine.
Also — cold water washing and air drying instead of tumble drying preserves color and shape significantly longer. My dark jeans have kept their color for two years because I wash them cold and hang them to dry.
The Quick-Reference Cheat Sheet
Here’s a fast summary of what all seven hacks actually do in practice:
| Hack | Approximate Cost | Time Investment | Visual Impact |
|---|---|---|---|
| Tailoring key pieces | $10–$25 per item | Low (drop off & collect) | ⭐⭐⭐⭐⭐ |
| Building a color palette | Free | Medium (one-time effort) | ⭐⭐⭐⭐⭐ |
| Fabric shaver routine | $10–$20 one-time | Very low | ⭐⭐⭐⭐ |
| Swapping buttons | $4–$10 per piece | Low-Medium | ⭐⭐⭐⭐ |
| Mastering the tuck | Free | Low (just practice) | ⭐⭐⭐⭐ |
| One or two good accessories | $20–$60 total | Low | ⭐⭐⭐⭐⭐ |
| Smarter washing habits | Free | Low | ⭐⭐⭐ |
The Mistakes I Made Before All This Clicked
Buying more instead of improving what I had. For a long time, when an outfit felt off I’d go shopping for a new piece to fix it. Usually the issue was fit, color, or styling — not a missing item.
Ignoring garment care labels. Tumble-drying things that said “lay flat to dry” once destroyed a $35 wool-blend jumper. Read the label. It takes five seconds.
Thinking accessories were extras. I used to buy accessories as an afterthought, from cheap fast-fashion sites, and they’d break within weeks. Flipping that — spending a bit more on two or three good ones — was a game changer.
Confusing “trendy” with “expensive-looking.” Some of the cheapest-looking outfits I’ve worn were things that were very on-trend at the time. Classic silhouettes, good fit, and neutral colors will always read as more expensive than whatever’s currently everywhere on social media.
Looking put-together on a budget isn’t about finding magic cheap pieces. It’s about how you wear, care for, and think about what you already own — and making small, deliberate upgrades that punch above their weight.
None of this requires a wardrobe overhaul. Start with one hack — maybe the fabric shaver, maybe figuring out your color palette — and the effect will be immediate enough to keep you going.